«The written word is all that stands between memory and oblivion. Without books as our anchors, we are cast adrift, neither teaching nor learning. They are windows on the past, mirrors on the present, and prisms reflecting all possible futures. Books are lighthouses erected in the dark sea of time.»
Jeffery Robbins in «Gargoyles»
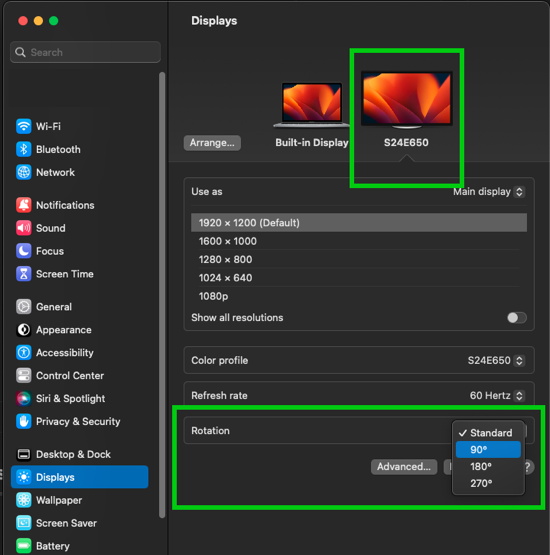
Some displays can be turned 90°, from «landscape» to «portrait» format. Just change the rotation option in the System Settings (here Mac):
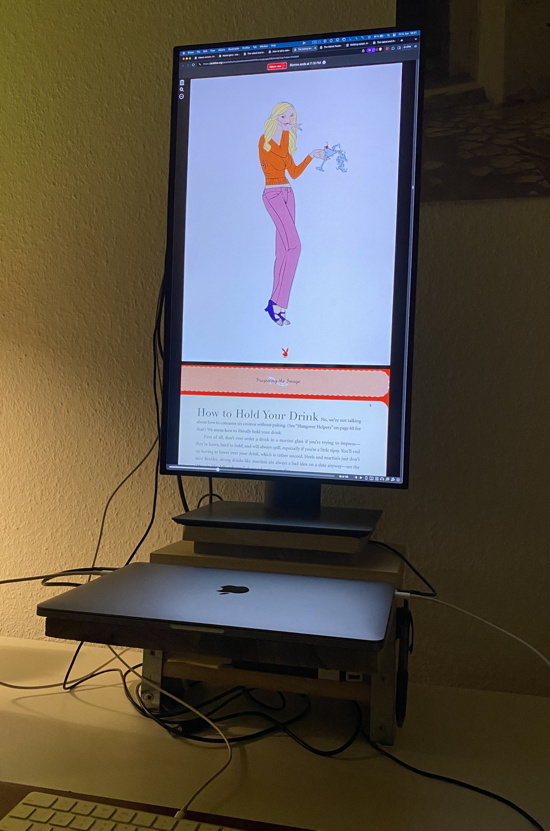
While it might look strange — and like an ergonomic nightmare — in can be very useful for designing or reading pages. You get, e.g., the whole page of a scientific article, even larger than when it is printed on DIN A4.
It is also very interesting to read books on the Internet Archive Books Library ( https://archive.org/details/books ) in one page view this way:
Of course, given that you now see the book in a rather high resolution, you could …
1. Take screenshots of the pages (quickly via a keyboard shortcut and pressing right cursor for the next page).
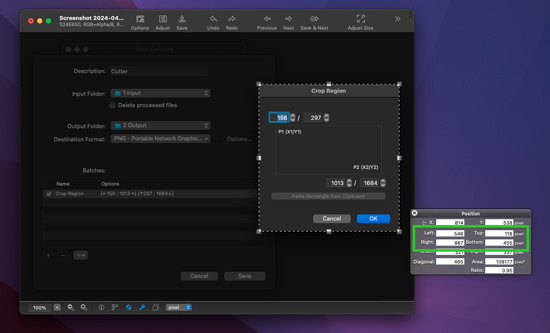
2. Use a tool like Graphic Converter to measure the area of the pages (should be the same, save for front and back cover, which you would have to cut manually). Use «Window» => «Show position», you want the Left Top Right and Bottom values:
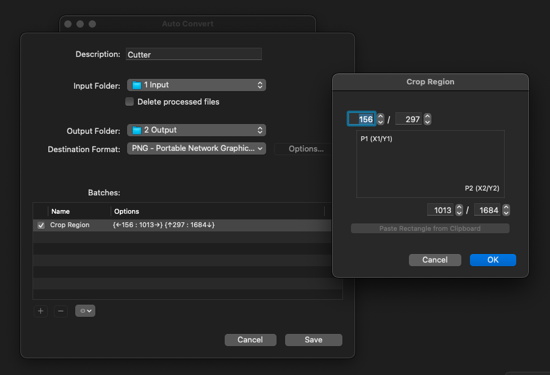
3. Use the «Auto Convert …» feature of Graphic Converter (under File) to quickly cut all pages to size:
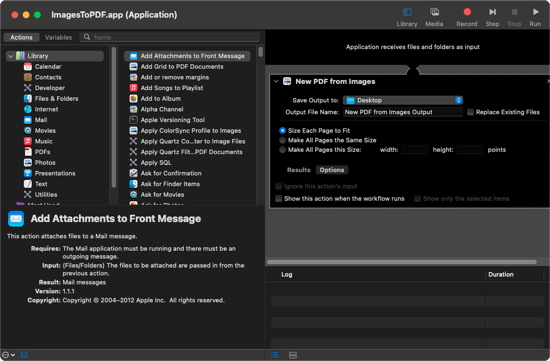
4. After adding front and back cover, use Apple’s Automator (or another tool) to add the pages into one PDF (the screenshots should contain date and time in the file name, so the order is the same as in the book if you sort by name and went from the first page to the last).
5. And then use OCR (e.g., via DEVONthink or PDF Expert) to have selectable and exportable text.
You could … but you probably shouldn’t … 😉
Happy reading.