«Grego’s doing math in his head right now,» said Olhado, «so he’s functionally dead. But yes. I think he’s on to something– he was shouting and dancing a minute ago. We had a sewing-machine experience.» «Ah,» said Valentine. «It’s an old science-class story,» said Olhado. «People who wanted to invent sewing machines kept failing because they always tried to imitate the motions of hand-sewing, pushing the needle through the fabric and drawing the thread along behind through the eye at the back end of the needle. It seemed obvious. Until somebody first thought of putting the eye in the nose of the needle and using two threads instead of just one. A completely unnatural, indirect approach that when it comes right down to it, I still don’t understand.»
«Xenocide» by Orson Scott Card
We have an RFID key card system at work. I much preferred the earlier physical key system, especially considering that you can easily create work and movement profiles with digital keys. Much more hesitant to work on the weekends since it was introduced. But, yeah. After going through a few ideas on how to carry the card, I decided to use a sweatband (the one with these small zipper pockets). What works for a credit or membership card works very well for RFID cards.
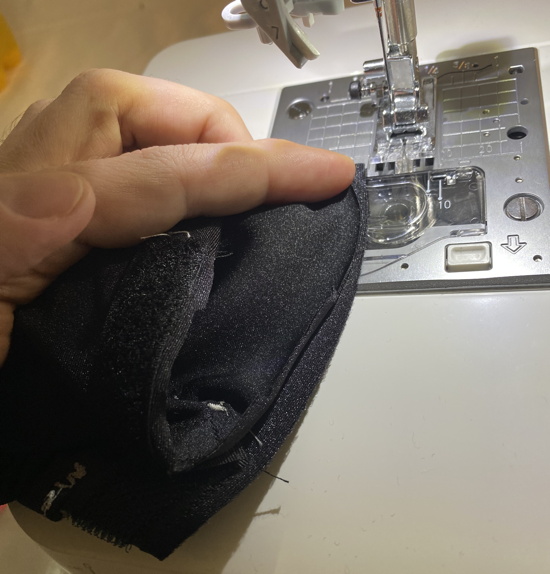
However, sweatbands to become a bit warm in the summer, and after trying out sewing, I used sewing a sweatband as one of my first projects. I used some kind of jersey fabric (if I remember correctly) which stretches a bit and a jersey needle for the sewing machine. Ah, and I did use a lightning stitch (as the material stretches). But hey, there are likely easier ways to do this, so no warranty.
The steps itself are simple:
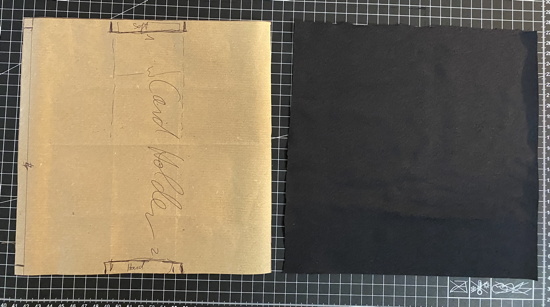
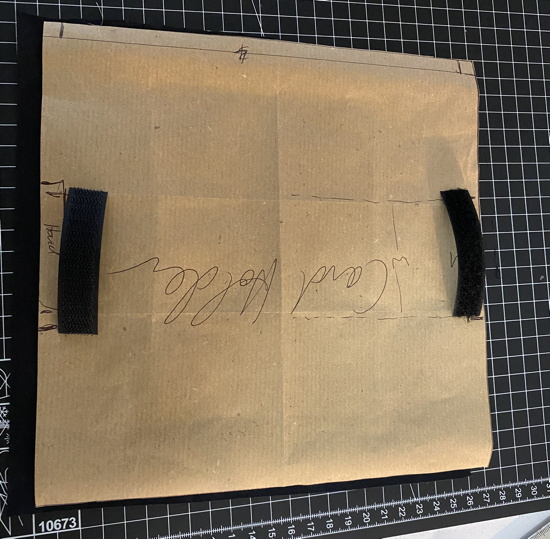
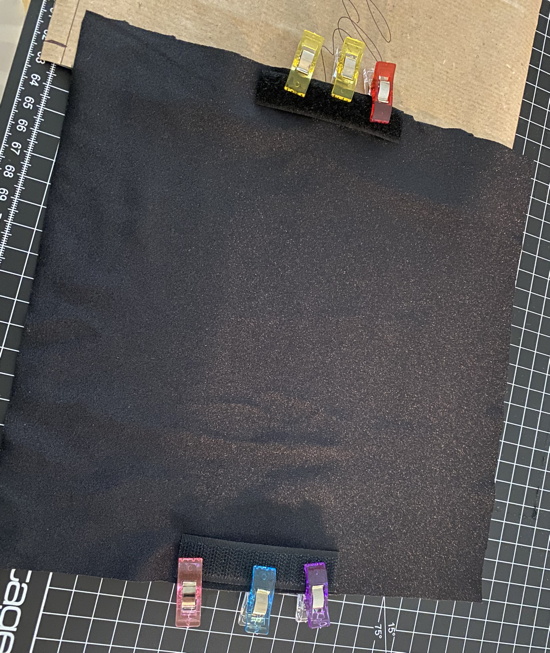
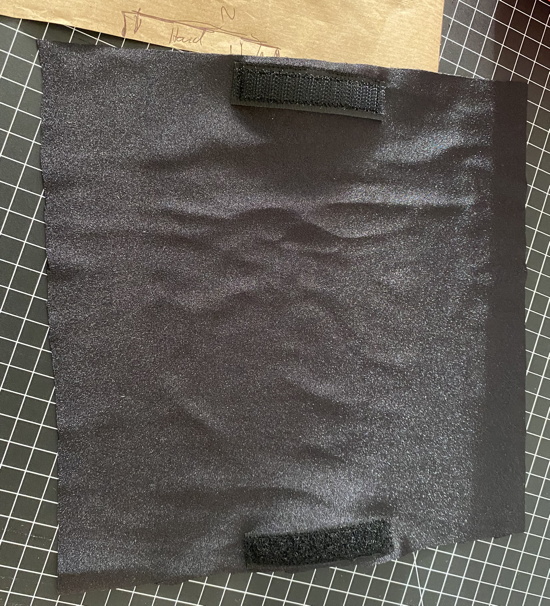
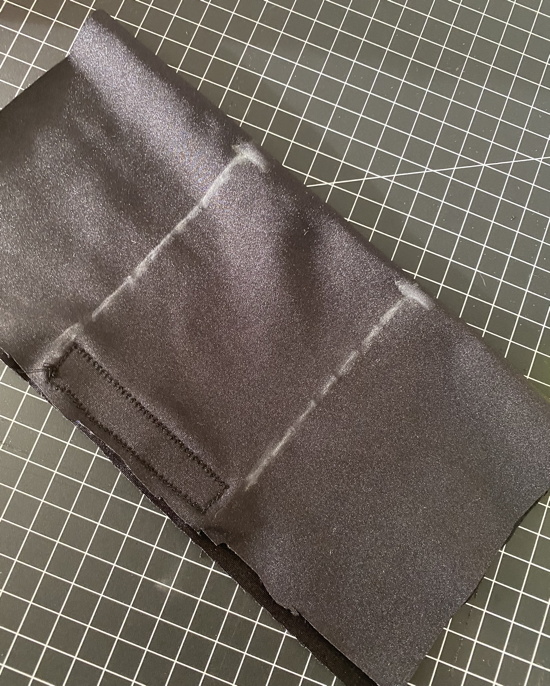
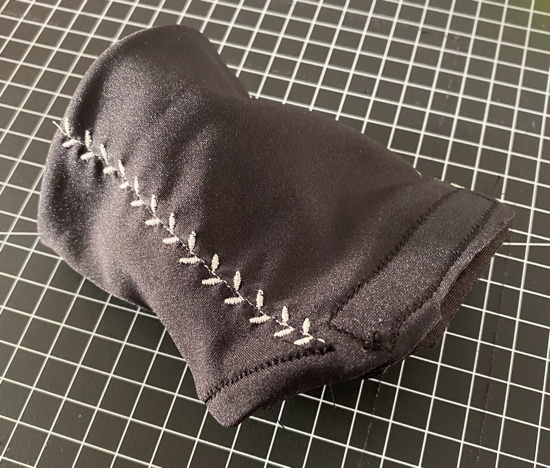
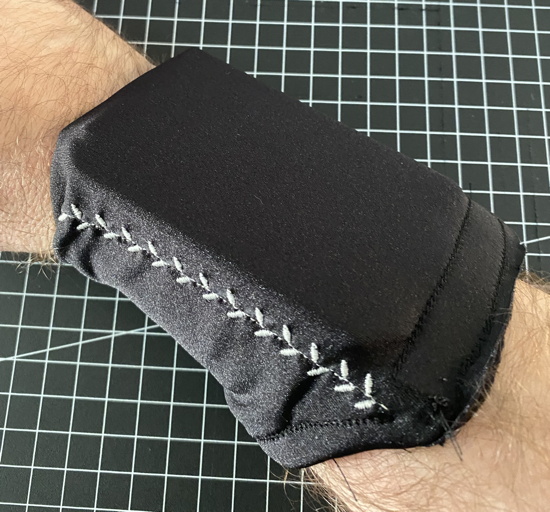
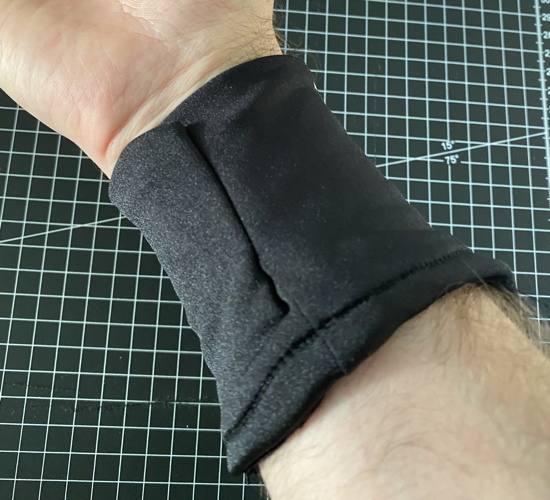
The result is still a prototype (haven’t it tested for a week yet), the underside and the borders are kinda crappy, but still. It seems to work.