Apple: Typically, a device used to seduce men – usually equipped with display screens and/or worms.
Unknown
Recently I switched back to use the notebook screen in addition to a larger external screen. I do it at work only, where it is very useful when using one screen for the video conference window and the other for dealing with information.
In order to make use of the notebook camera and the screen, the notebook has to be in front of me, beneath the external display. While I can put in on the desk itself, it is then a bit low and worse — it costs me valuable desk space in front of me. Desk space is precious, incl. to have a tidy work environment and wasting space on the right/left is bad enough, the space immediately in front of me is even more valuable. I also do not use the notebook keyboard for typing, but an external one. I just find it more comfortable to type this way, incl. having control over the distance between keyboard and screen(s).
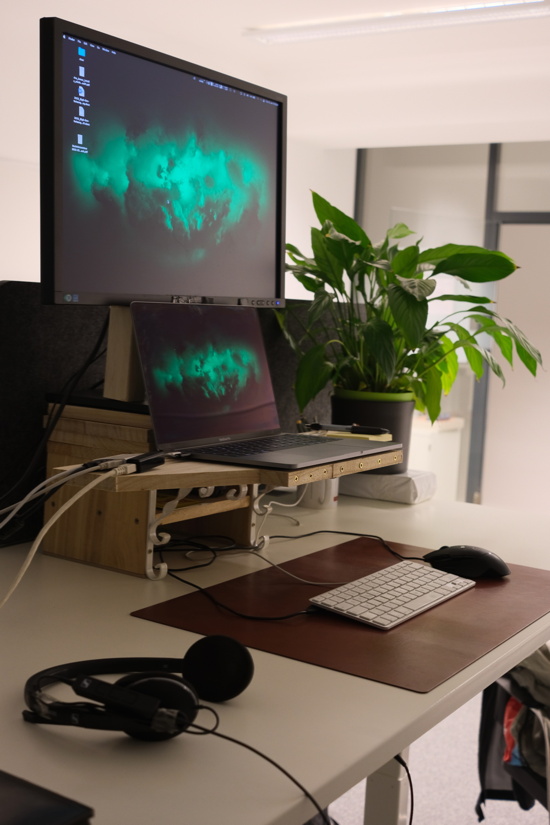
So I added a notebook holder to the wooden display stand I build a while back. If it were a new project, I would have use one wooden board for display and notebook (more stable), but given that the display stand was already build, I had to attach a board to it.
Given that the notebook is connected to cables (usb-c ports left and right) and Apple, well, Apple uses cables that are rather sensitive to being bend, I made the board a bit broader than needed. Given that I did not want it to be too large, I opted for a angled cut:
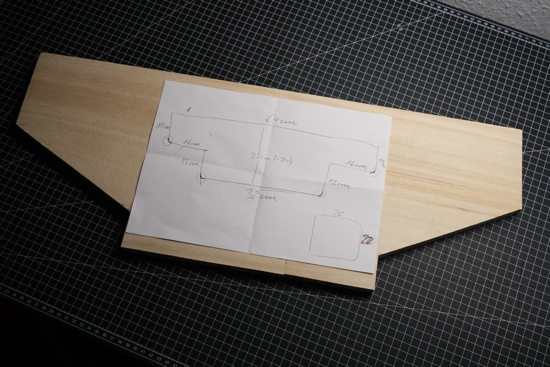
Board made to hold the notebook with enough space left and right so the usb-c cables do not bend down immediately.
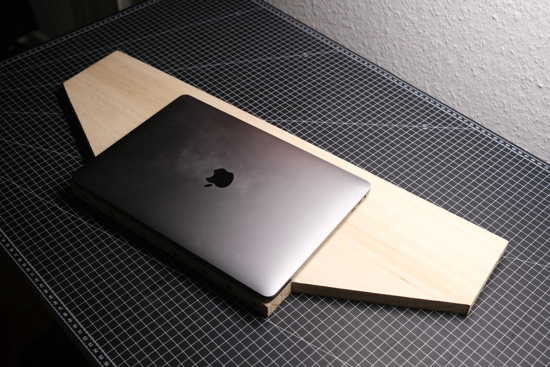
In order to attach the board to the display stand I opted for metal corners/angles I originally bought for a reading shelf. I did not need them and they were just perfect for the display stand. I used long screws, making it unlikely that the board will break.
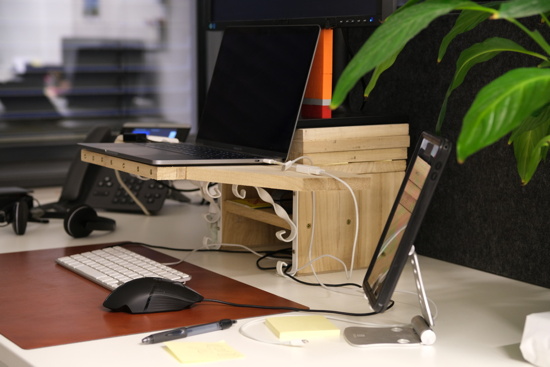
Of course, the notebook will only stay on the board if there is also a display on the display stand as counterweight. Otherwise it … won’t be pretty. The weight of the notebook will topple the stand and the notebook will either fall on the desk (bad) or slip off it on the floor (catastrophically bad). Given that the display is always on the stand, that should not be a problem. But to ameliorate the risk at least a little bit, I have put some additional boards on the display stand. I need the additional height.
But yeah, now the display stand has a notebook holder which keeps the notebook of the desk itself and in a great position for work (esp. videoconferencing). The space below leaves ample room for my hands on the keyboard and mouse.

In order to remove stuff from the desk, I added two pen holders. The iPad pen is attached by its pen case using velcro. I attach the pen case to the iPad cover with velcro as well, so that was the logical choice. The uni POWER TANK (great pen) is attached via a loop made with a paperclip (had it lying around and two screws left over).
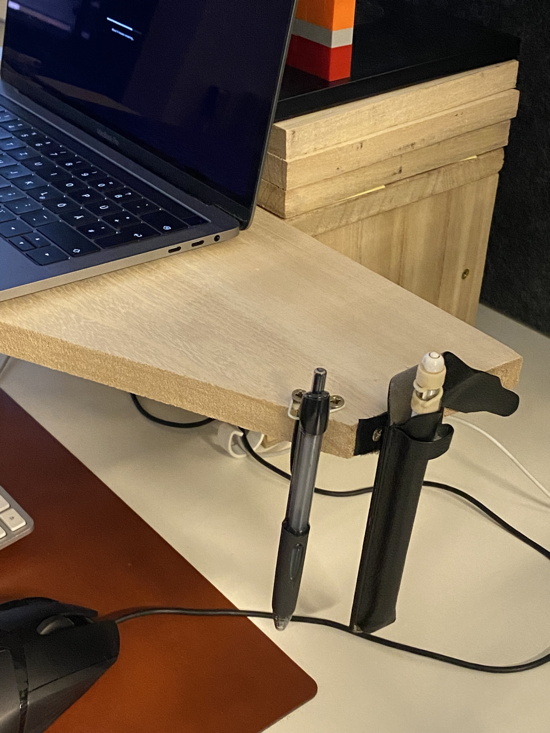
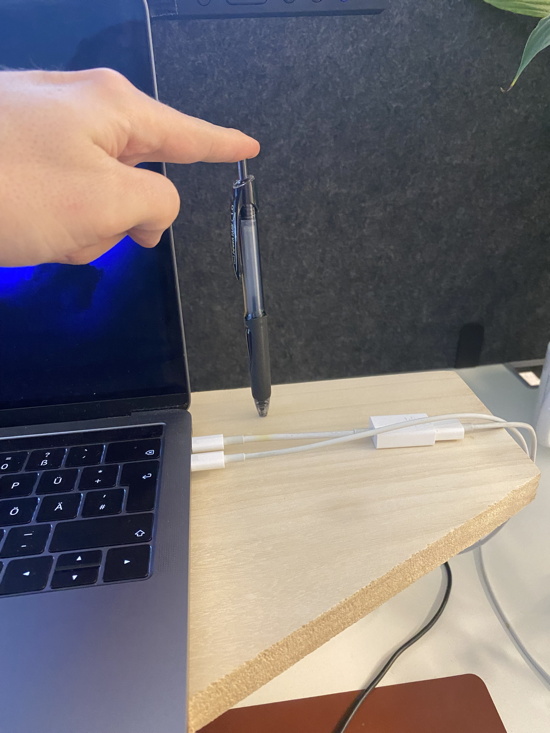
BTW, the first idea was to drill holes to hold the pens (see next image). But I did not want to bring my electric drill to work nor carry the desk stand back home. Also, I wonder what it would do with the tip (esp. of the Apple Pencil). External attachments are more comfortable to reach and easier.
I have also put the iPad holder on the desk stand (right side, in front of the cables; not shown). Works great and removed another piece from the desk itself.
There are a couple of other ideas, including attaching a flat LED below the notebook board. Would be useful if I read something on paper on the desk. But that’s only an idea so far. Unless I use something battery powered, it raises safety issues at work and the last thing I want is a discussion about it.

But hey, worked out. A creative project that evolved from a simple display holder to something more, but something that works out really well. For work at least. At home, I will continue to work with one display only. After all, I’m not a Gecko and I like focused work.